
ショコラ
Gmail にリレーするだけのメールサーバーを作成するには?
なぜこれが必要かというと、
Windows の PHP でメールを送信するときに、SMTP、smtp_port、sendmail_from だけで勝負しなければならないからです。
以下のようにいくつか対応策があると思います。
① SMTP に対応したライブラリを入れる。
↑今のプログラムに修正が必要。
② Windows に fake sendmail等 のメールを転送するプログラムをインストールする。
↑環境毎にプログラムのインストールが必要。
そこで、「メールを Gmail にリレーする方式」で対応してみようと思いました。

もっさん先輩
手順
Gmailのアプリパスワードを設定する。
- 以下のURLにアクセスし、左メニューの「セキュリティ」を選択します。
https://myaccount.google.com/?pli=1- Google へのログインの「2段階認証プロセス」を「オン」にして「アプリ パスワード」を選択します。
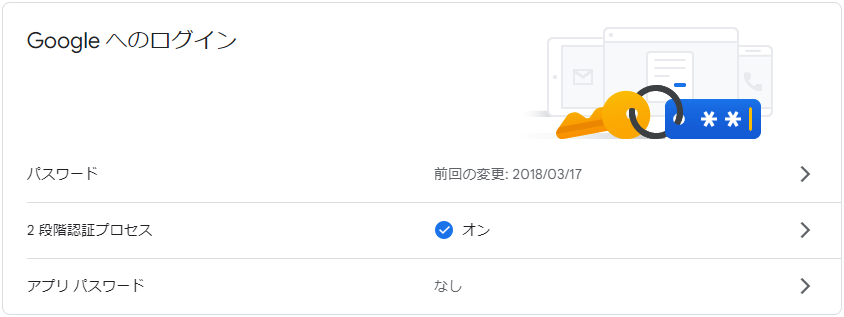
- ログインして、アプリ パスワードを発行します。
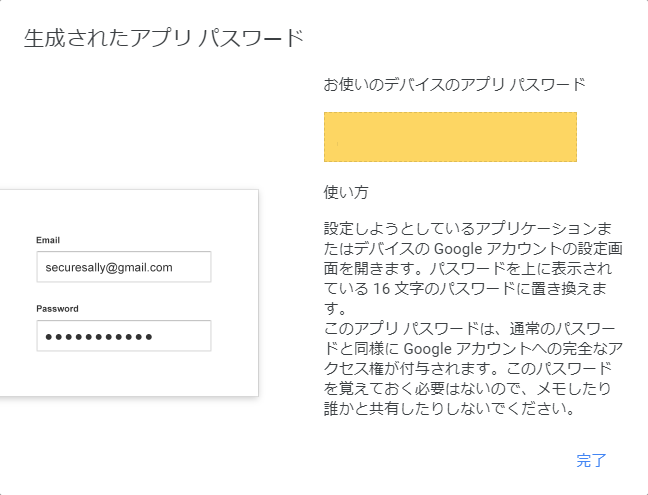
Gmailにリレーするだけのメールサーバーを作成する。
Gmail にリレーするだけのメールサーバーを作成せする手順。
- Ubuntuコンテナ を起動します。
docker run -p 25:25 -it ubuntu- パッケージをインストールする為に、apt-getアップデート を実行します。
apt-get update- postfix をインストールします。
(echo "2"; echo "{Gmailのアドレス}") | apt-get install -y postfix↑”2″で「2. Internet Site」を選択しています。”Gmailのアドレス”で「System mail name」を入力しています。
Postfix Configuration
---------------------

Please select the mail server configuration type that best meets your needs.

 No configuration:
  Should be chosen to leave the current configuration unchanged.
 Internet site:
  Mail is sent and received directly using SMTP.
 Internet with smarthost:
  Mail is received directly using SMTP or by running a utility such
  as fetchmail. Outgoing mail is sent using a smarthost.
 Satellite system:
  All mail is sent to another machine, called a 'smarthost', for
  delivery.
 Local only:
  The only delivered mail is the mail for local users. There is no
  network.

  1. No configuration  2. Internet Site  3. Internet with smarthost  4. Satellite system  5. Local only
General mail configuration type: (2を入力)

The 'mail name' is the domain name used to 'qualify' _ALL_ mail addresses without a domain name. This includes mail to and from <root>: please do not make your machine
send out mail from root@example.org unless root@example.org has told you to.

This name will also be used by other programs. It should be the single, fully qualified domain name (FQDN).

Thus, if a mail address on the local host is foo@example.org, the correct value for this option would be example.org.

System mail name: (メールアドレスを入力)- Gmailのアプリパスワード を含んだファイルを作成します。
echo "[smtp.gmail.com]:587 {Gmailのアドレス}:{Gmailのアプリパスワード}" > /etc/postfix/gmail- データベースファイルを作成します。
postmap /etc/postfix/gmail- main.cf にリレーの設定を行います。
sed -i 's/relayhost =/relayhost = [smtp.gmail.com]:587/' /etc/postfix/main.cfsed -i 's/mynetworks =/#mynetworks =/' /etc/postfix/main.cfcat <<'EOS' >> /etc/postfix/main.cf
# Gmail
mynetworks_style = subnet
smtp_sasl_auth_enable = yes
smtp_sasl_password_maps = hash:/etc/postfix/gmail
smtp_sasl_security_options = noanonymous
smtp_sasl_mechanism_filter = plain
smtp_use_tls = yes
EOS↑サブネットからのメールを送信するようにします。
- postfix を起動します。
service postfix startDockerfile にまとめると、↓こんな感じになります。
FROM ubuntu

ARG mail=
ARG app_pass=

RUN apt-get update
RUN (echo "2"; echo ${mail}) | apt-get install -y postfix
RUN echo "[smtp.gmail.com]:587 ${mail}:${app_pass}" > /etc/postfix/gmail
RUN postmap /etc/postfix/gmail
RUN \
  sed -i 's/relayhost =/relayhost = [smtp.gmail.com]:587/' /etc/postfix/main.cf && \
  sed -i 's/mynetworks =/#mynetworks =/' /etc/postfix/main.cf && \
  (\
    echo 'mynetworks_style = subnet'; \
    echo 'smtp_sasl_auth_enable = yes'; \
    echo 'smtp_sasl_password_maps = hash:/etc/postfix/gmail'; \
    echo 'smtp_sasl_security_options = noanonymous'; \
    echo 'smtp_sasl_mechanism_filter = plain'; \
    echo 'smtp_use_tls = yes'; \
  ) >> /etc/postfix/main.cf
RUN service postfix start
CMD postfix start-fg; tail -f /dev/null
「postfix start-fg」だけだと何故かメールが送信されず、一度「service postfix start」を実行するとメールが送信されました。
以上